
Overview
Your ergonomics setup starts with you and your chair. People often think a chair is uncomfortable or inadequate, when in fact it may simply be improperly adjusted. The overall purpose of adjusting your chair is to support your posture in a neutral position and to support the normalcurvature of your spine. Use this job aid & the tips below to help you adjust your chair to fit YOU.
This job aid includes a section on Getting to Know Your Chair,which covers adjustment tips and techniques. Try out the levers and controls on your chair; lever positioning and labelling may vary depending on chair brand. See Brand-Specific Chair Adjustments fordetails about chairs commonly used at UCSF.Information about other chair brands may be available online.
Getting To Know Your Chair
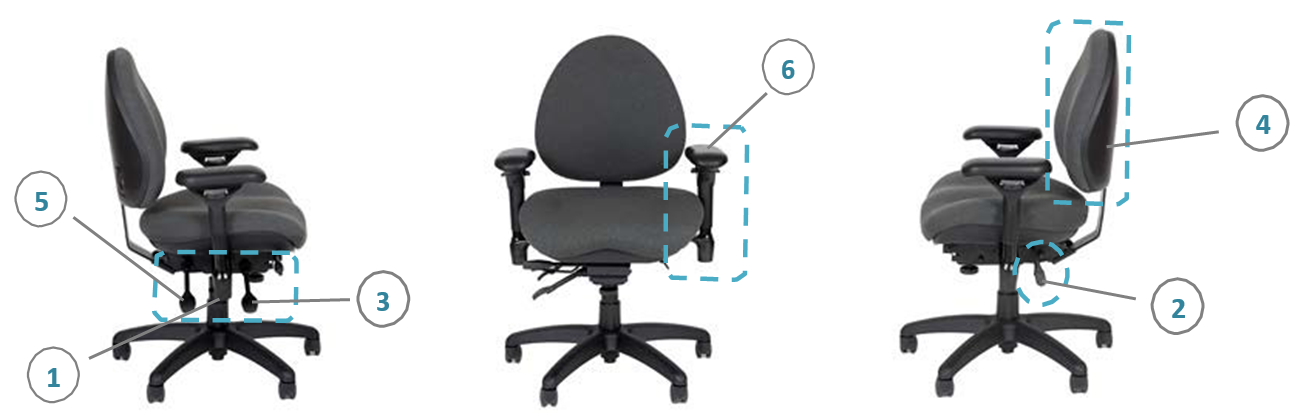
1. Seat Height
Adjust the seat height to fit you so that your:
- Feet are flat on the floor (with some weight resting on your feet).
- Hips are at the same height or a little higher than the knees.
- Hip joint is at about 90 inches – 120 inches relative to your body.
Note: If your feet do not reach the floor and a lower chair is not available,
you should procure a footrest.
2. Seat Pan
The seat pan should evenly distribute the pressure on your thighs
without putting pressure directly behind your knees.
You should have 1 to 4 fingers of space between the back of
your knees and the front edge of the seat pan.
Measure this when hips are all the way back in the chair
and knees are bent with your feet directly under your knees.
3. Seat Tilt
Adjust seat tilt to match the angle of your thighs. Seat tilt can
be adjusted to relieve pressure on the back of the thighs, hips or knees.
Keeping the tilt parallel to the floor is most common (neutral seat tilt).
A slight rearward tilt may help if you tend to recline slightly in your chair.
A slight forward tilt might help improve your posture if
you tend to sit forward on your chair.
Avoid tilting so far forward that you feel like you are falling out of the chair.
4. Backrest - Height
Adjust the height of the backrest to support your lower back.
Backrest height should be adjusted so the curve of the
backrest fits the curve of your lower back at about the belt line.
Note: Some backrests adjust on a ratchet system.
To adjust, stand behind the chair and grasp the
backrest with both hands.
Lift the backrest to the top of its travel (approx. 4 inches range).
Then, release the back and it will drop to its lowest level.
Lift the backrest one click at a time until you reach optimal height.
5. Backrest - Angle
Backrest angle should support your back in an upright
position or slightly reclined
(90 inches – 120 inches angle between your torso and thighs).
6. Armrests
If your chair has armrests, adjust armrest height and width
so that you can keep your shoulders and upper body in
relaxed position.
Armrest height should allow for gentle forearm support
(with elbows bent at approx. 90 degrees).
Armrest width should allow for shoulders to be relaxed
and elbows to hang close to your side.
Look underneath your chair to see if there are width adjustment knobs.
Some armrest caps can be adjusted fore/aft and pivot
to be positioned closer to or further away from your body.
Note: Adjust or remove the armrests if they prevent you from
sitting close enough to the desk or keyboard tray,
increase your reach to the keyboard and mouse,
or interfere with equipment access.
Brand-Specific Chair Adjustments
Look on or underneath your chair or seat to find manufacturer/modelinformation. For additional chair information and a list of preferred task seating, see the Approved Equipment List.
| Brand | Model | Photo | Adjustment Details |
| STEELCASE | AMIA | 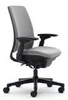
|
User Guide PDF:
Instructional Video: |
| STEELCASE | LEAP |

|
User Guide PDF:
Instructional Video: |
| STEELCASE | CRITERION | 
|
User Guide PDF: Steelcase Criterion User Guide
Instructional Video: |
| RFM | CARMEL (8215 & 8235) | 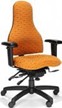
|
User Guide PDF: |
| RFM | INTERNET (4835) |

|
User Guide PDF: |
| OM | YS88 | 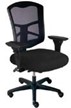
|
User Guide PDF:
Instructional Video: |
| OM | PT78 & 74 |
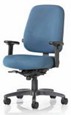
|
User Guide PDF: |